Getting Started Guide for the Smart Label
This document details the step-by-step instructions about how to set up the Truvami smart label.
💡 Installation instructions are available in the Smart Label Onboarding document
1. Charge the Truvami® smart label
The smart label uses the ambient indoor light as an energy source. The optimal exposure is around 1000 lux and a full charge can take up to 2 days.
⚠️ Warning: Exposing the label to direct sunlight of high intensity is not advised as the organic photovoltaic cells of the smart label are not designed for these conditions.
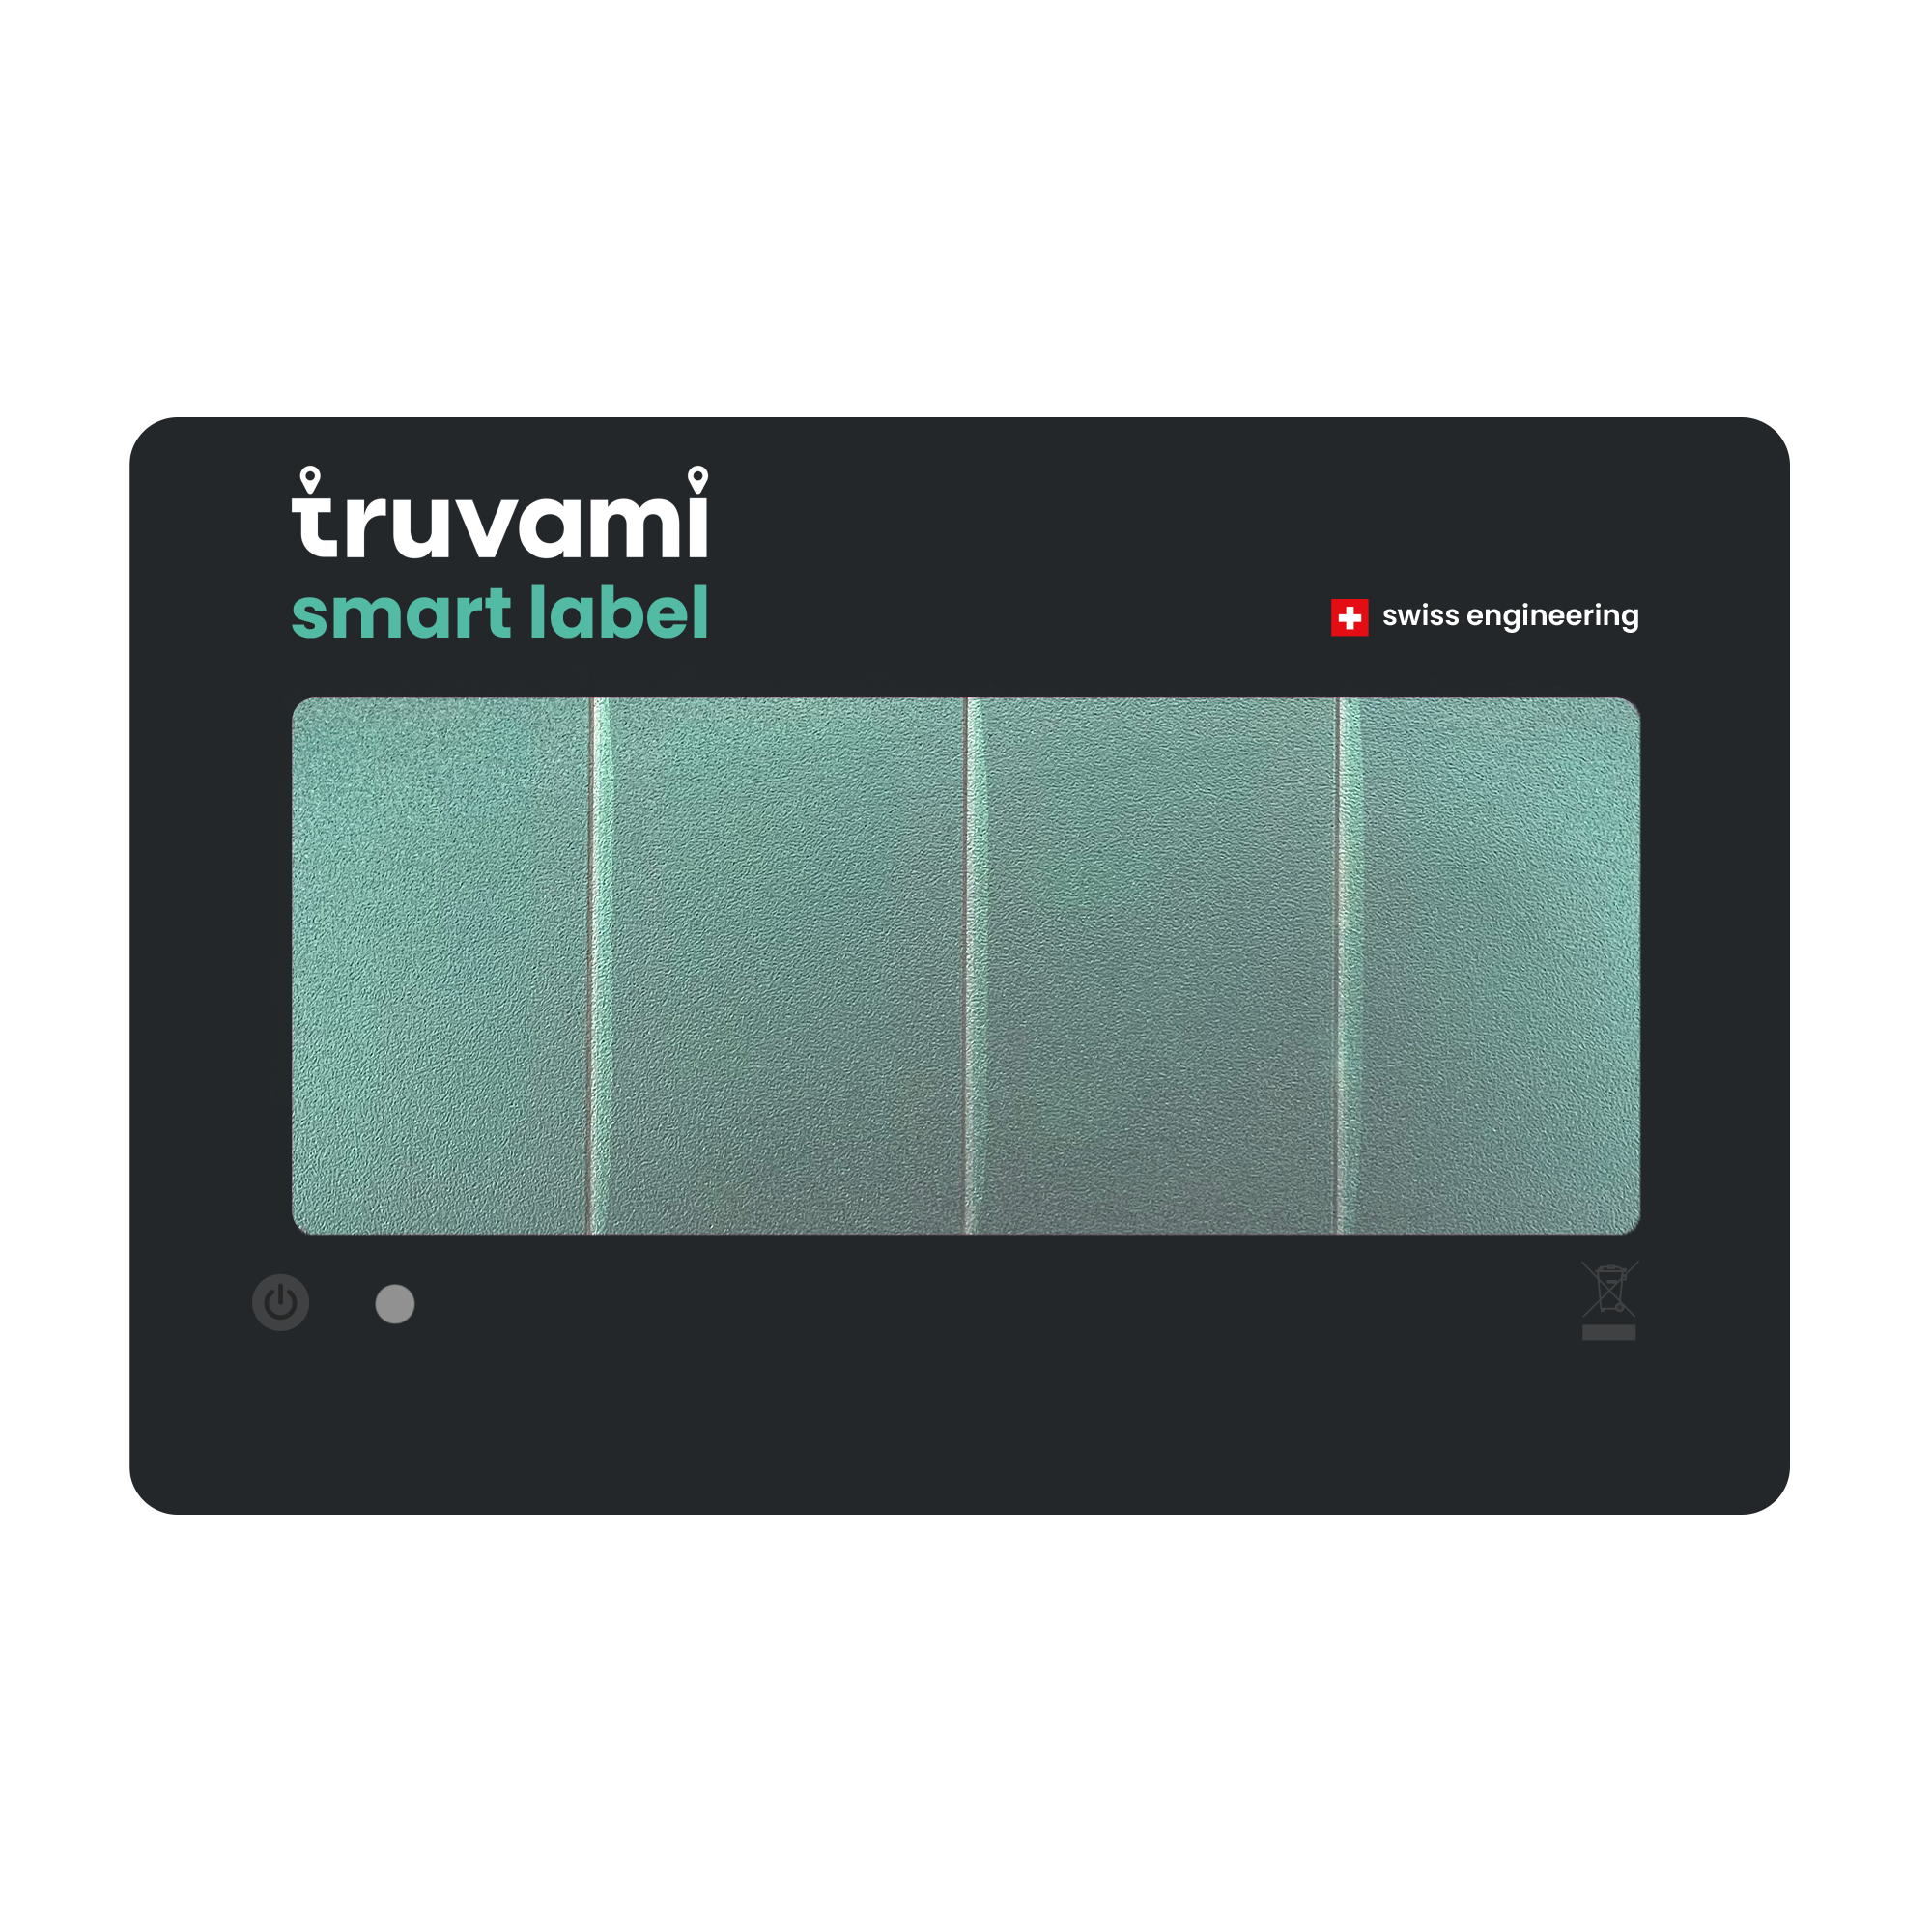
2. Short press on the power button activates the tracker
After pressing the power button and releasing it, the LED will blink 5 times in green. After a few seconds, the LED will blink again 3 times in green to indicate a successful join to the network.
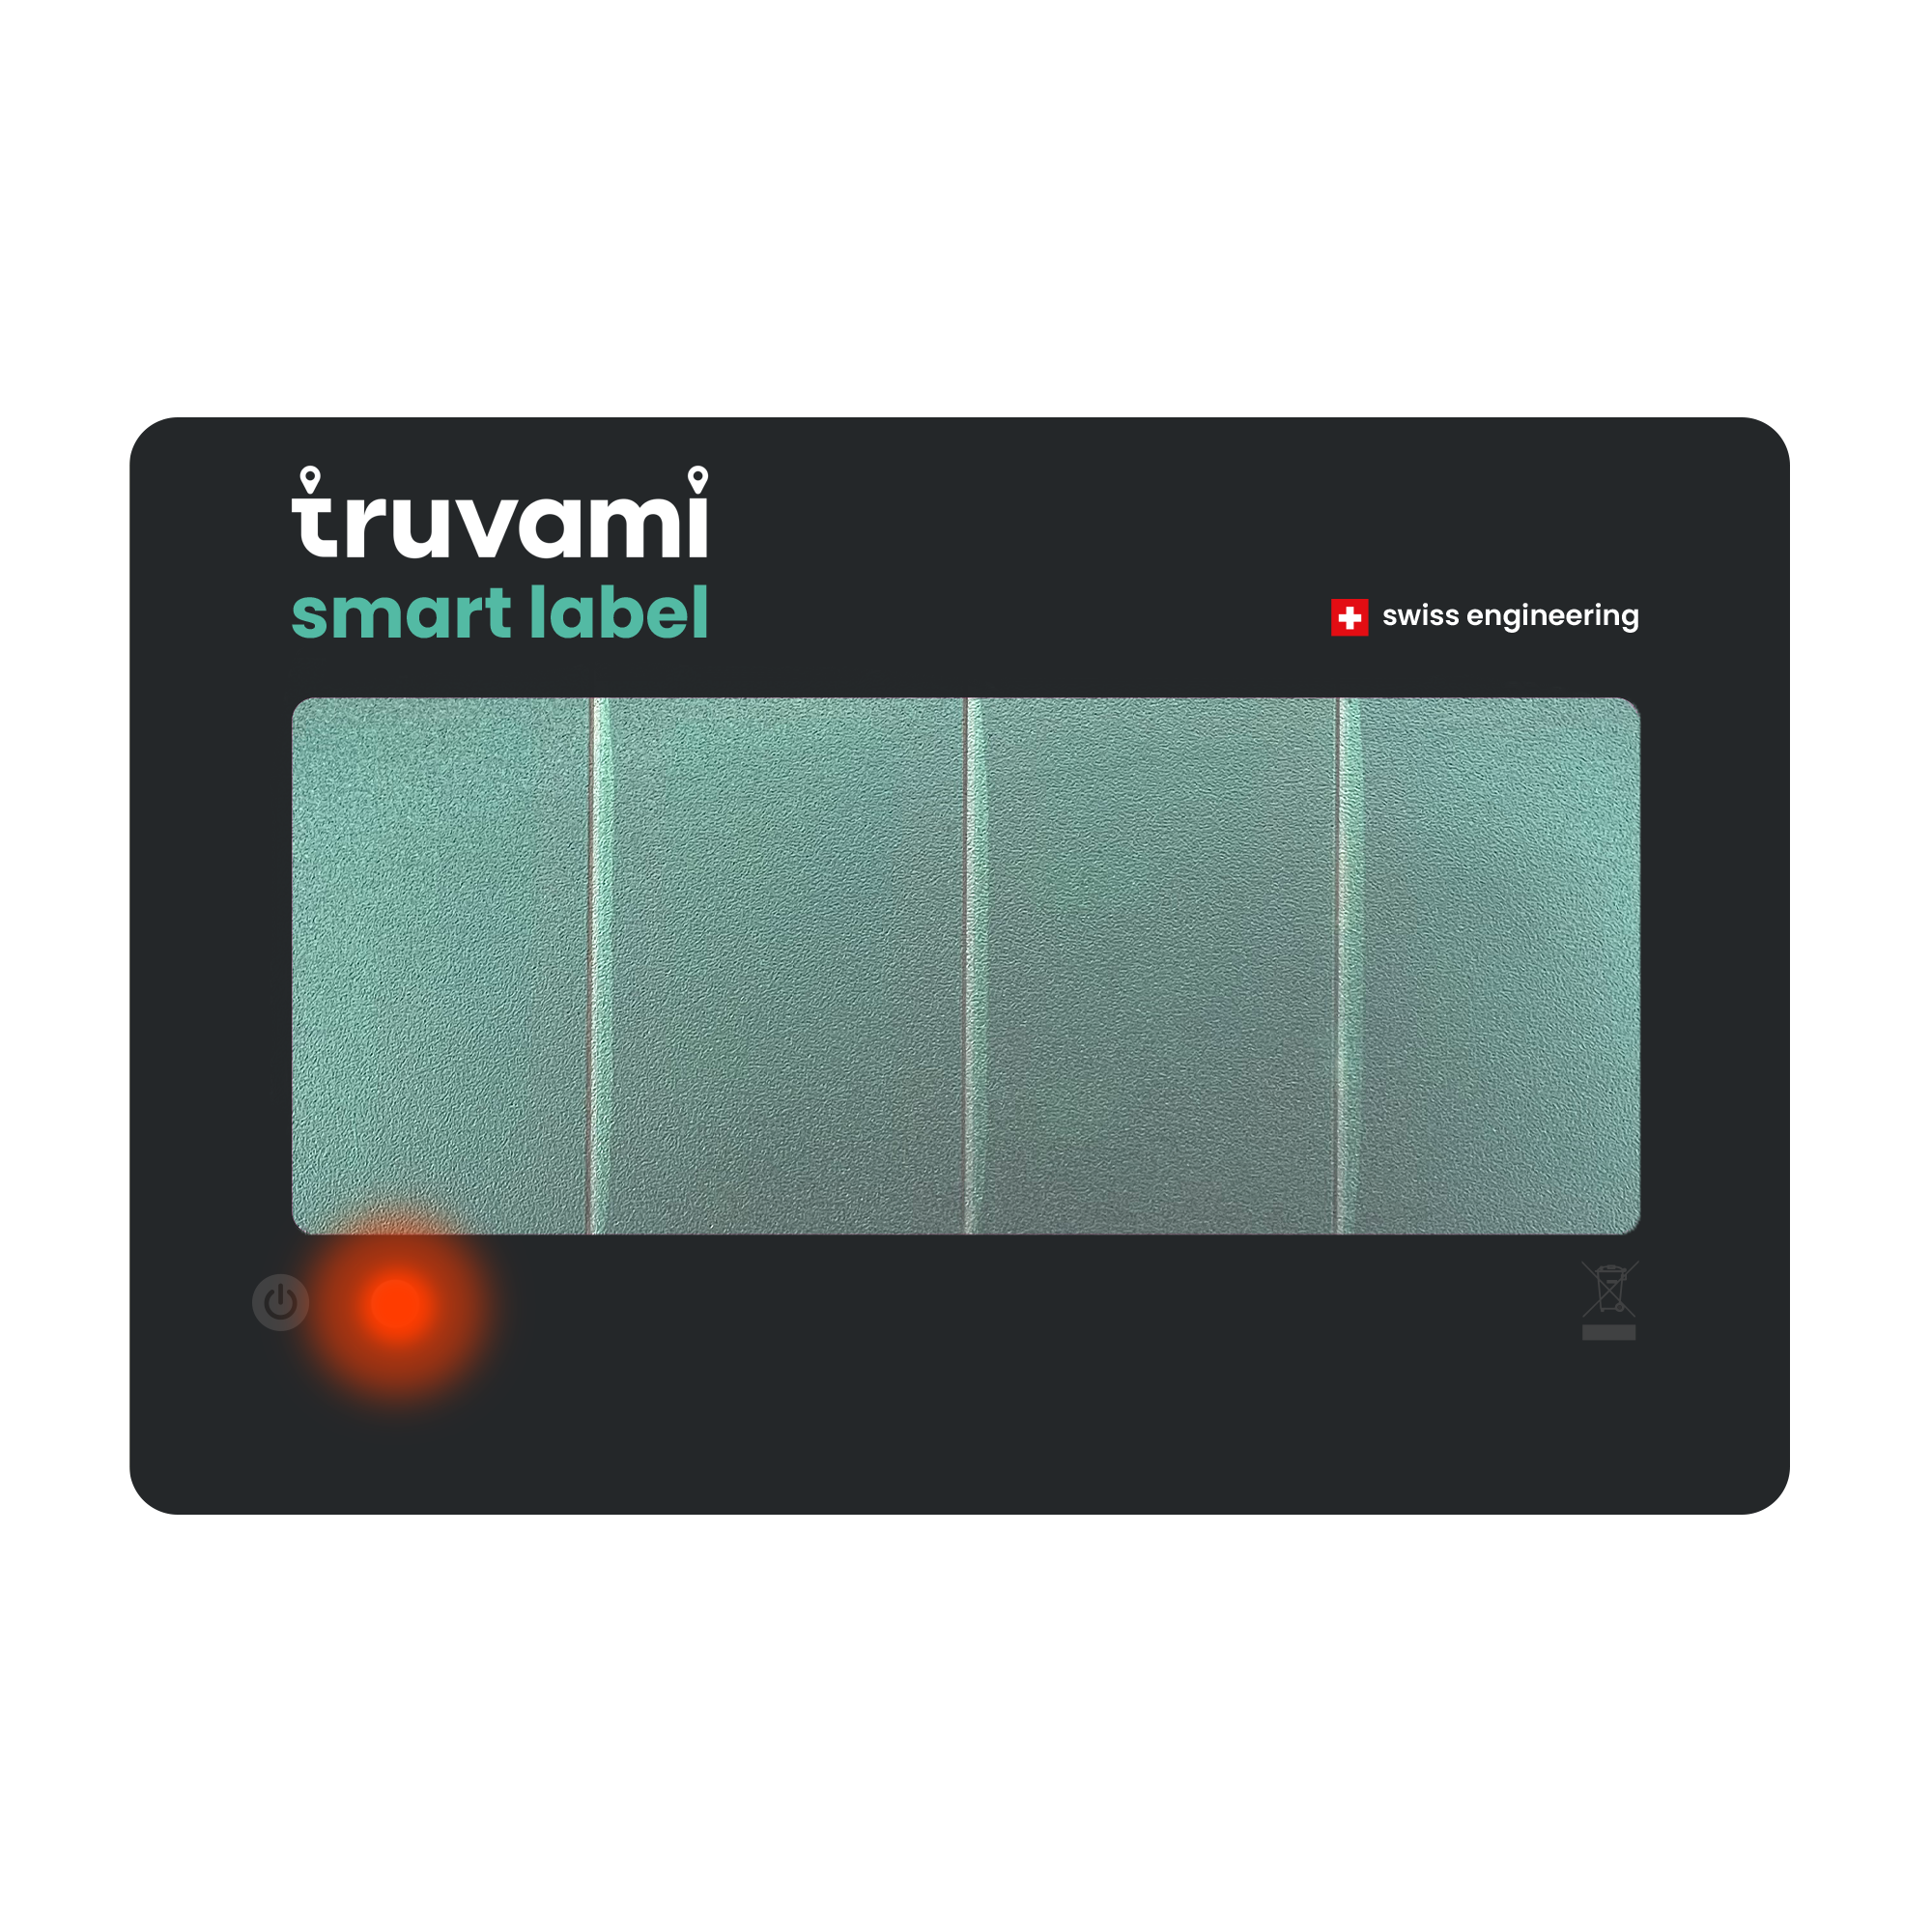
If the tracker cannot join the network, the LED will blink in red.
It will try automatically to join the network until being successful.
3. Click on the activation link that you have received by email
It will take you to the https://dashboard.truvami.com page where you can set your password.
Troubleshooting
In the event that the device fails to join, consider the following list of workarounds:
1. Check your LoRaWAN coverage.
If applicable, plug in your LoRaWAN Gateway. In case you have your own network server, check on there if data is coming through.
2. Check if battery is fully charged:
Leave the smart label exposed to constant indoor lighting for one day and try step 2 again.
3. Reset the Smart Label
To reset your Truvami Smart Label, you will need to switch it off and then switch it on again.
Steps
Switch Off
-
Press and hold the power button firmly for 10 seconds.
-
Release the button – the device will power down.
Switch On
-
Press the power button firmly for 1 second..
-
The device will restart and is now reset.
For support, please submit a ticket. We will provide support as promptly as possible.